I’m going home for the holidays and I wanted to bring my bike. Initially I thought it would be a huge hassle (and maybe it’s all relative) but after reading a few articles, watching a few Youtube videos and researching my airline baggage policies … I realized it wouldn’t be so bad. And apparently, people fly with their bikes all the time. The problem is, how do I pack my bike? I’ve found four options on the internet:
- Buy a really expensive hard bike case. (Around $500CAD when I last checked. And apparently slippery on airport conveyor belts. See links below at the very end.)
- Buy a sort-of expensive fabric padded bike bag. (About $400CAD.)
- Use a heavy duty clear plastic bike. (Cheaper.)
- Use a cardboard box. (Cheapest.)
- Some foldies come with their own case in which you’re ready to go. You might even be able to avoid a bike fee if you don’t tell them it’s a bike! (Shhh.)
Anyway, I’ve never travelled with my bike before and I doubt I would very often nor do I have extra money to splash around for an expensive bike box. So, I opted for the cheapo cardboard box.
What you’ll need:
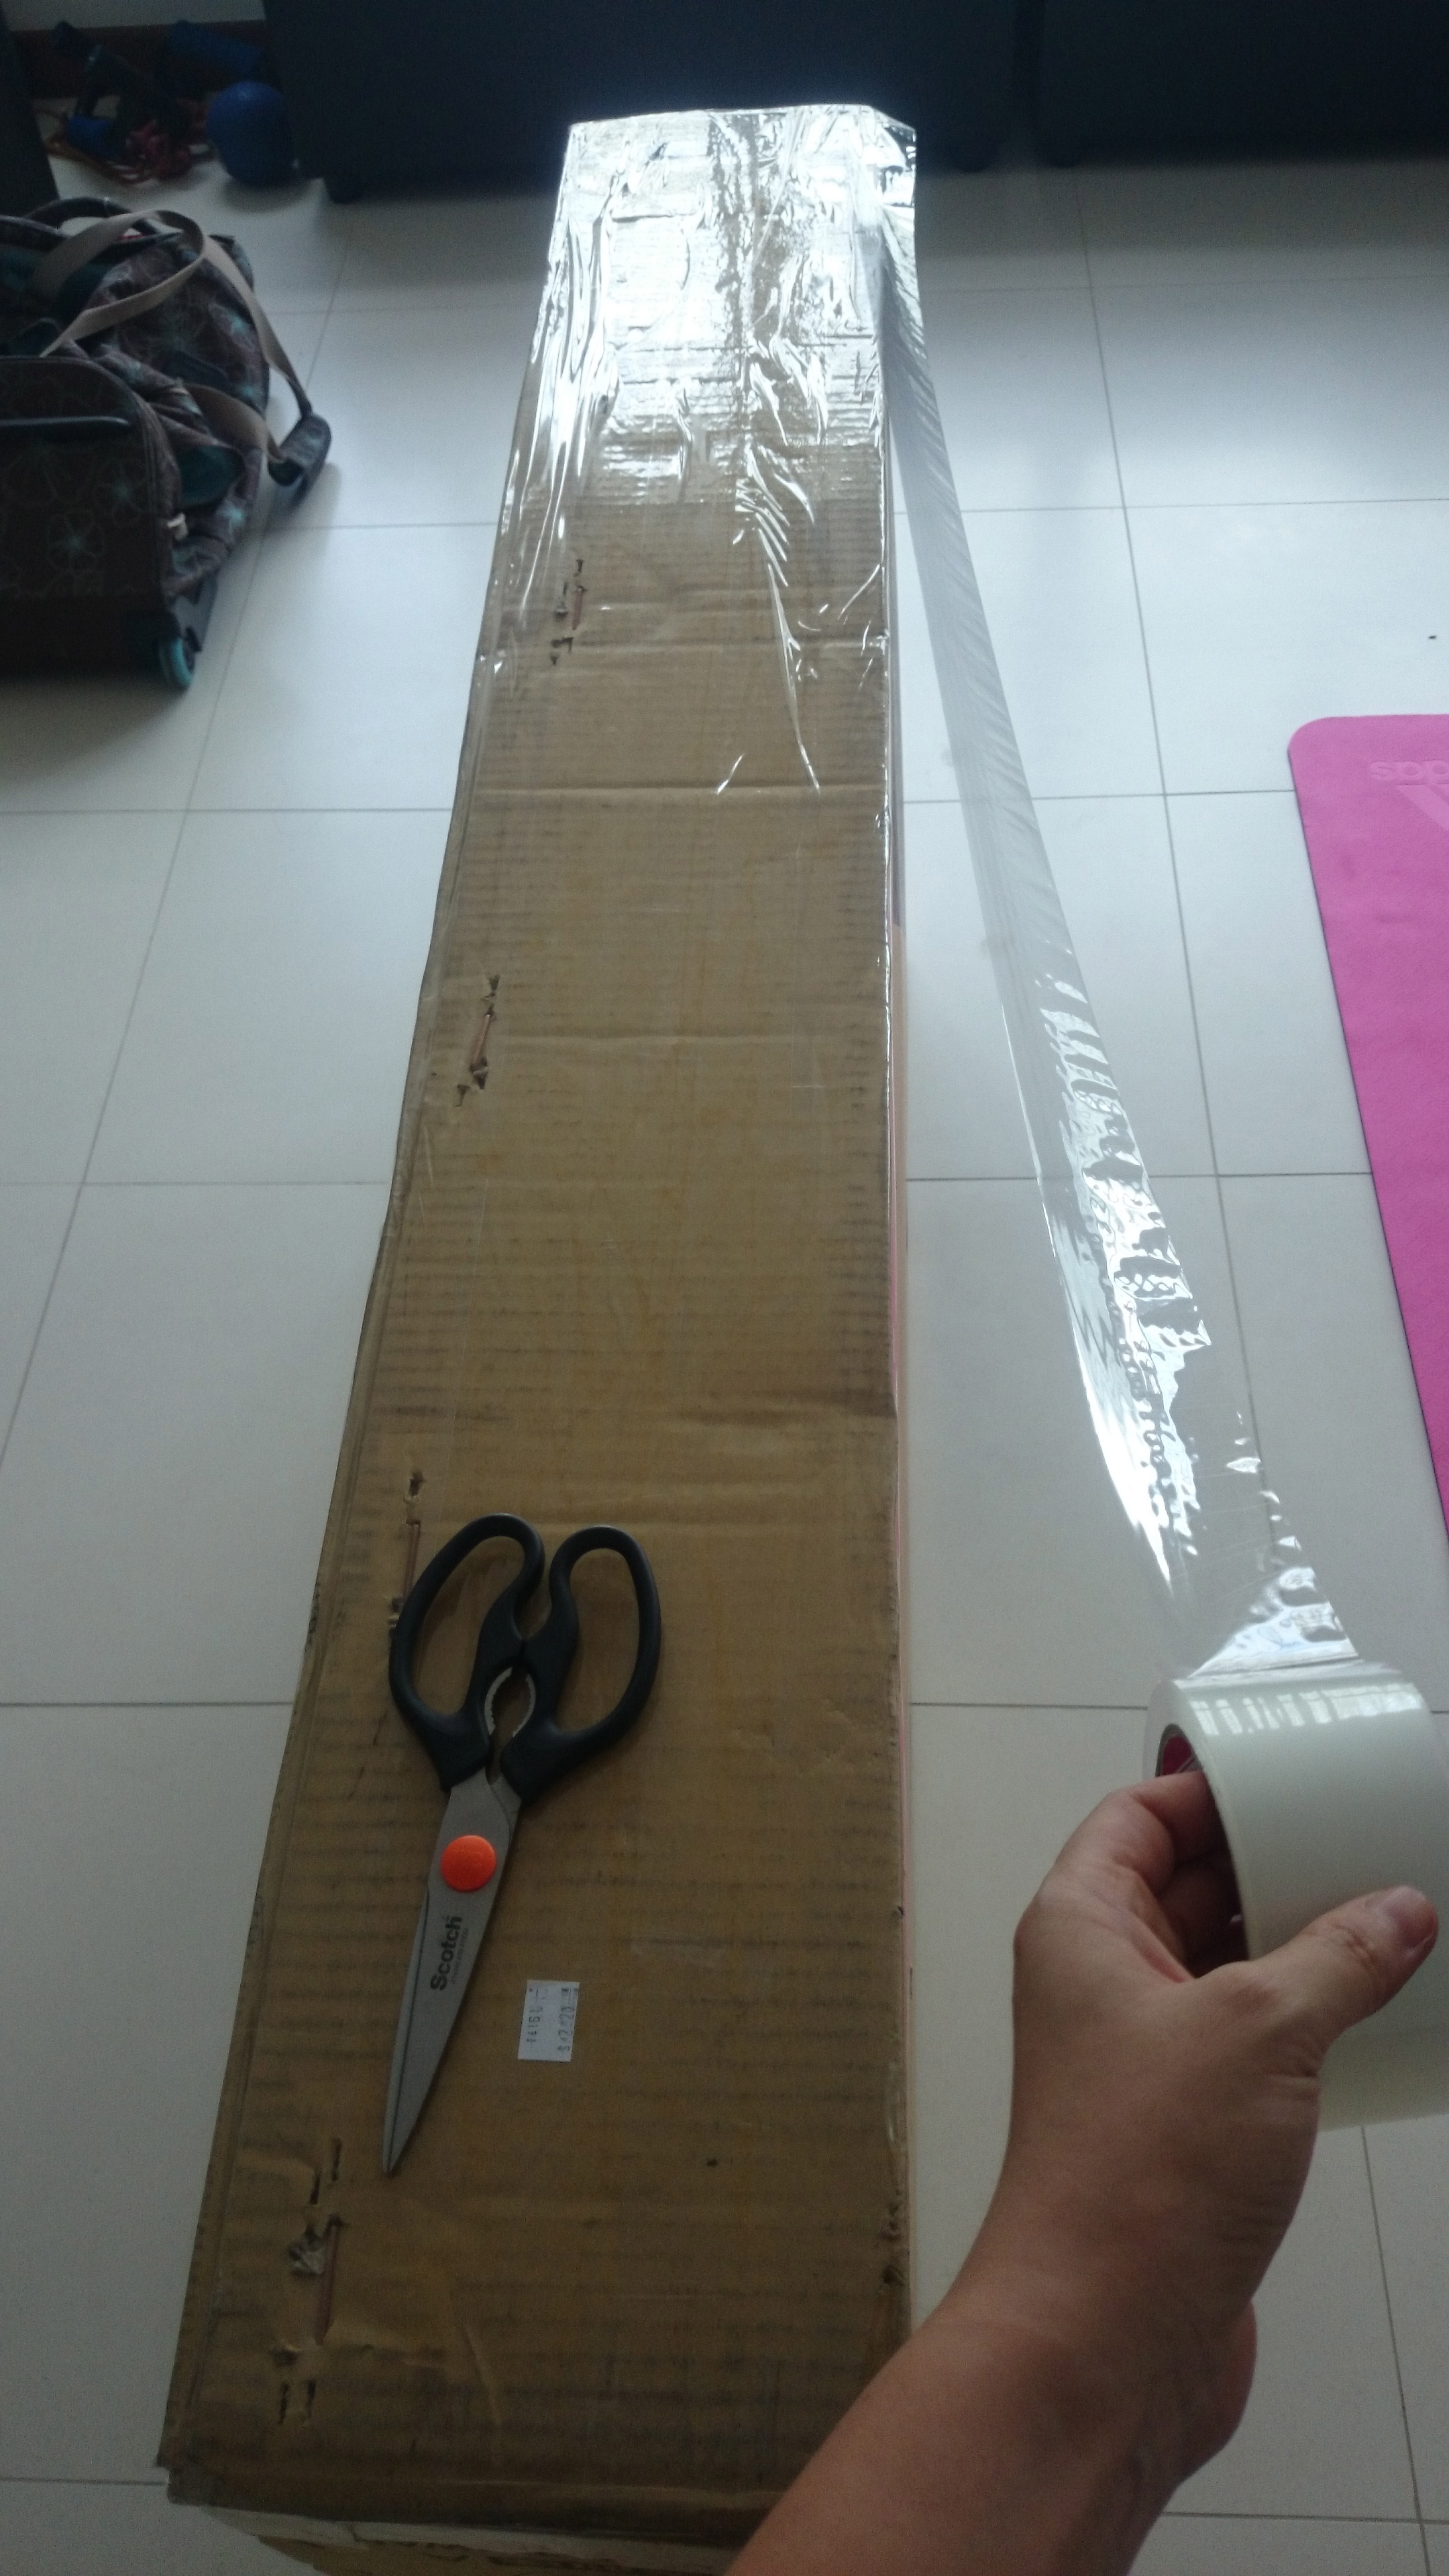
- A bike box. (I got one from my local bike shop for $5.)
- A set of Allen (hex) keys.
- Pedal wrench. (If you need one. I didn’t.)
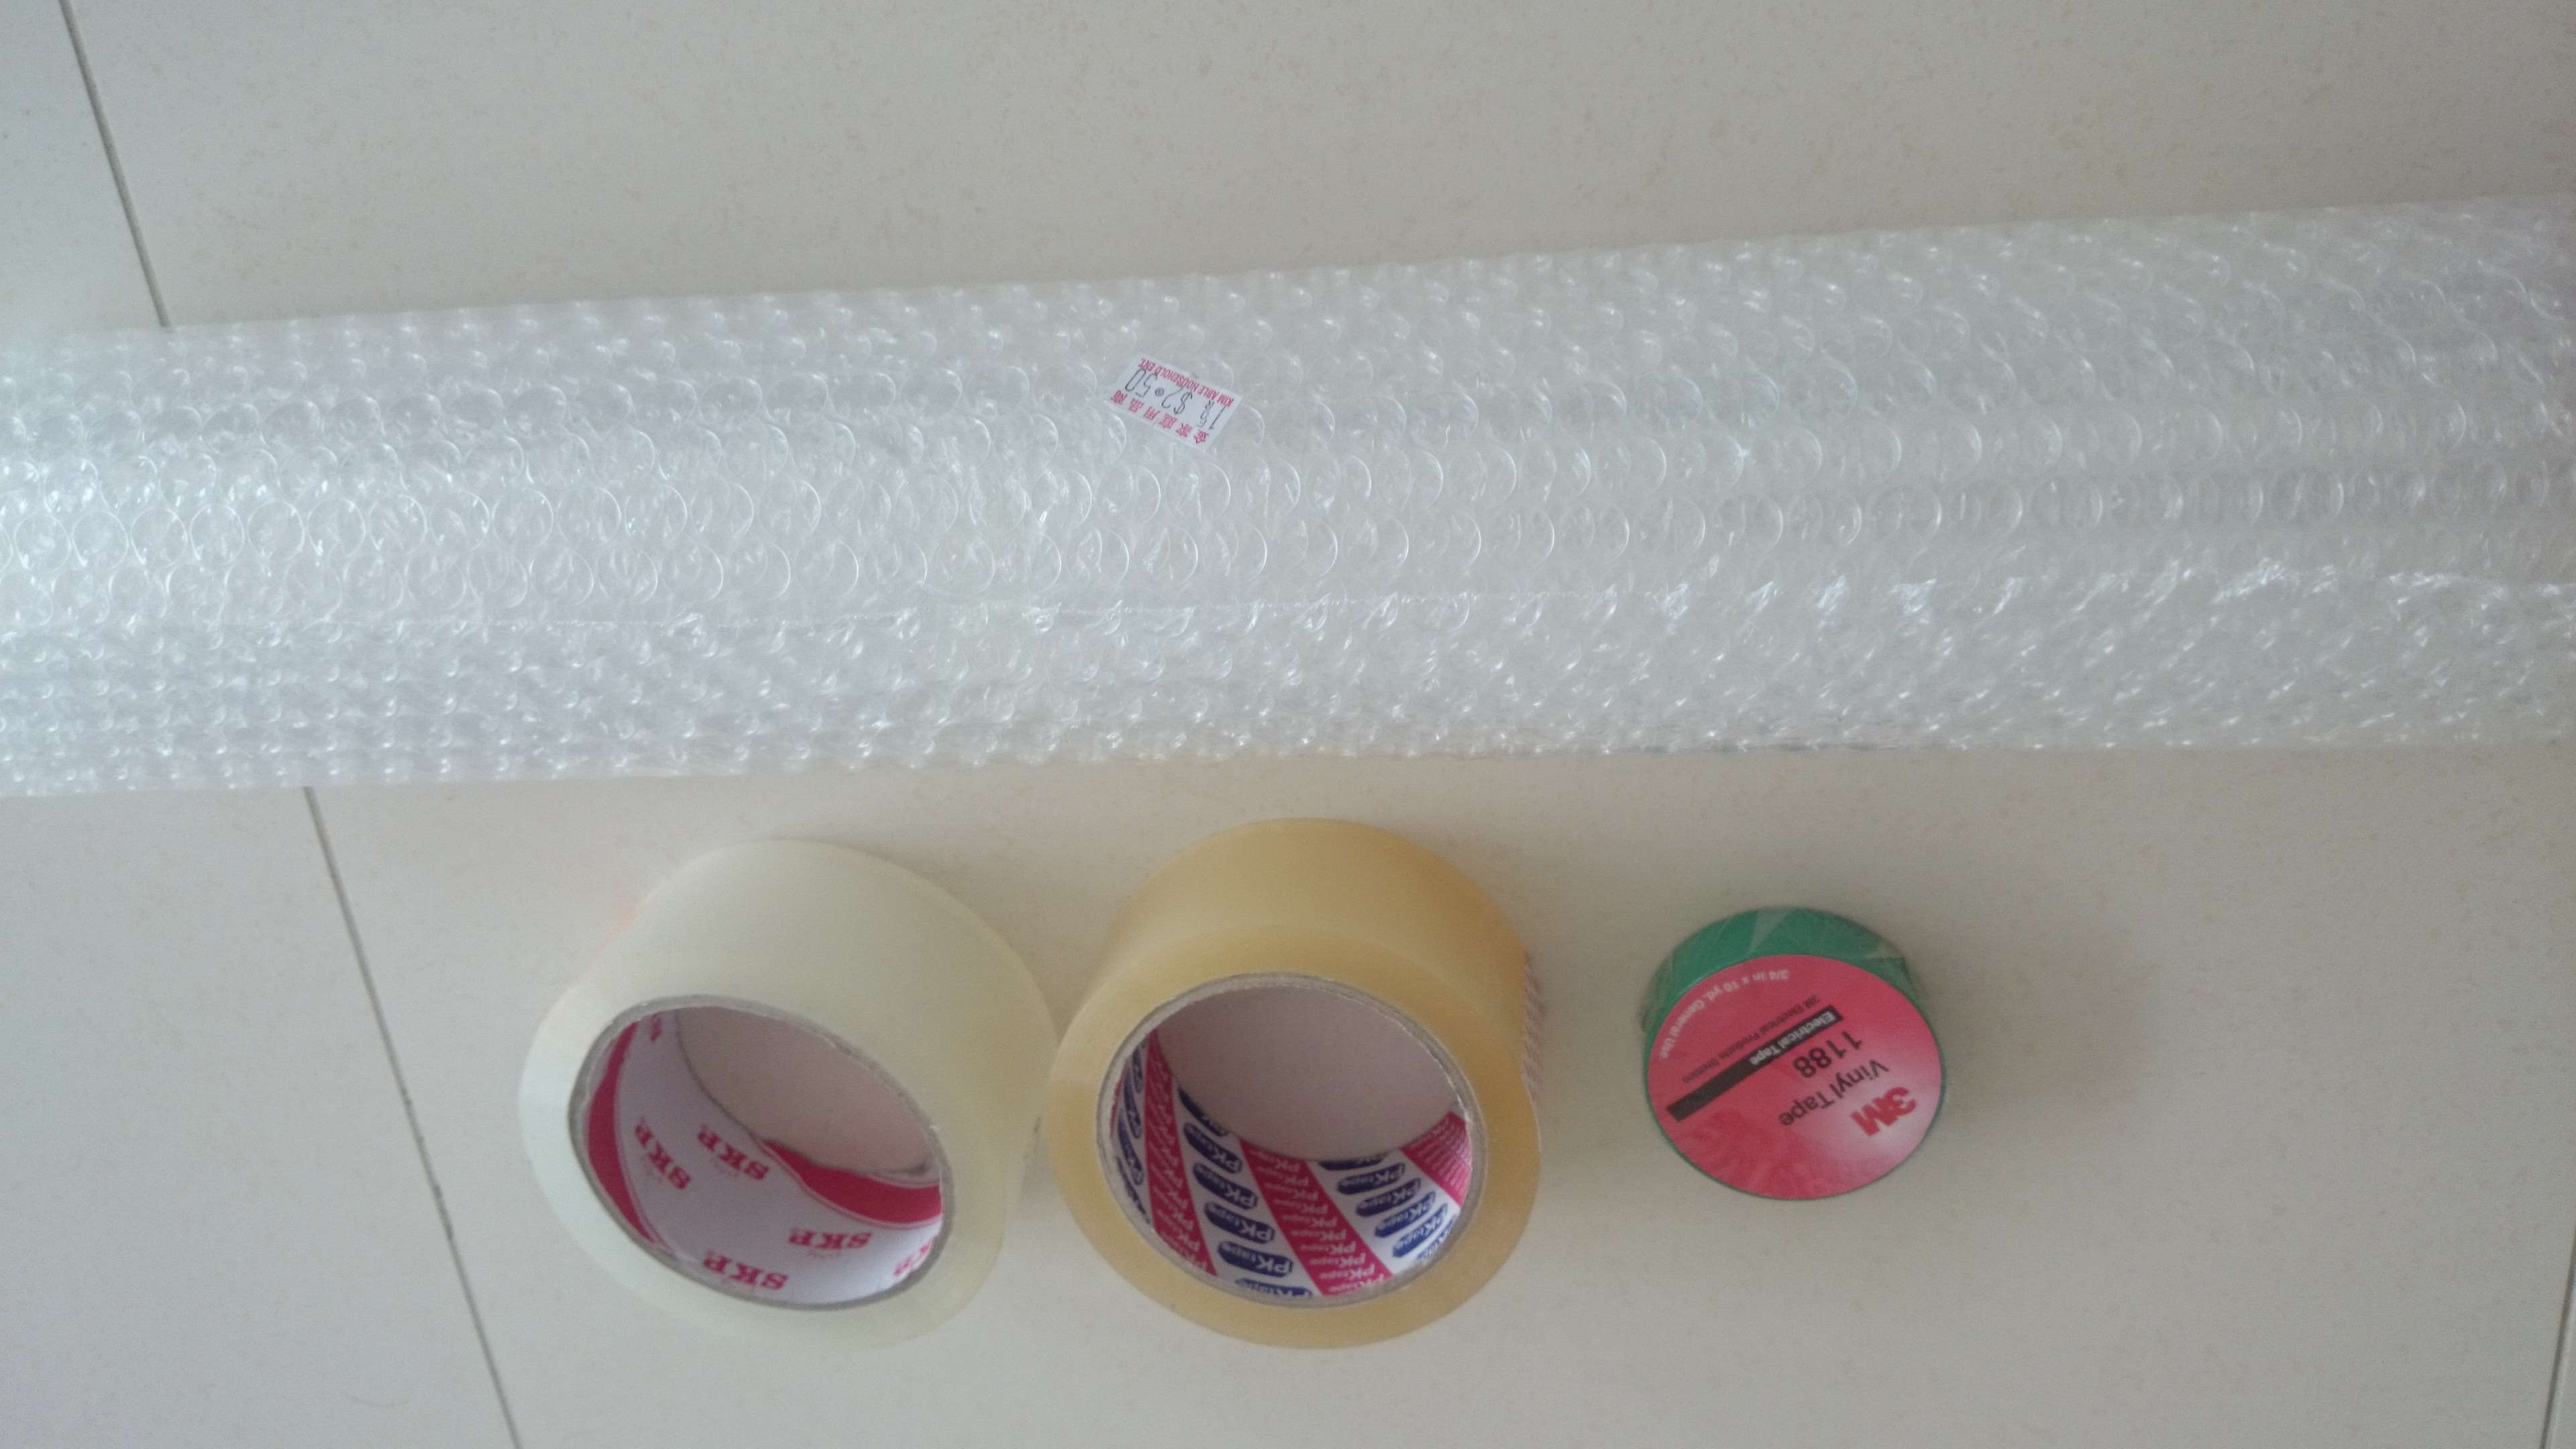
- Bubble wrap.
- Pipe insulation if you can find some. They’re perfect for wrapping around the frame.
- Clear packing tape.
- Electrical tape.
- A permanent marker.
- Extra space filler/padding/protection. (A stroke of luck lead me to discover some discarded furniture foam at the dumpster. Mine now. Dumpster diving isn’t so bad. I am shameless.)

Initially, I thought the box was massive and too big for the airline companies. But my bike Mechanic Jeryl at The Cyclogy on Yio Chu Kang Rd. told me it was a pretty standard box. (Jeryl is awesome and honest, by the way, and his handiwork is reliable.) So I lugged it home on the bus and lo and behold, the overall measurements are within the limit. (115in limit for L + W + H. My box came in around 92in.) 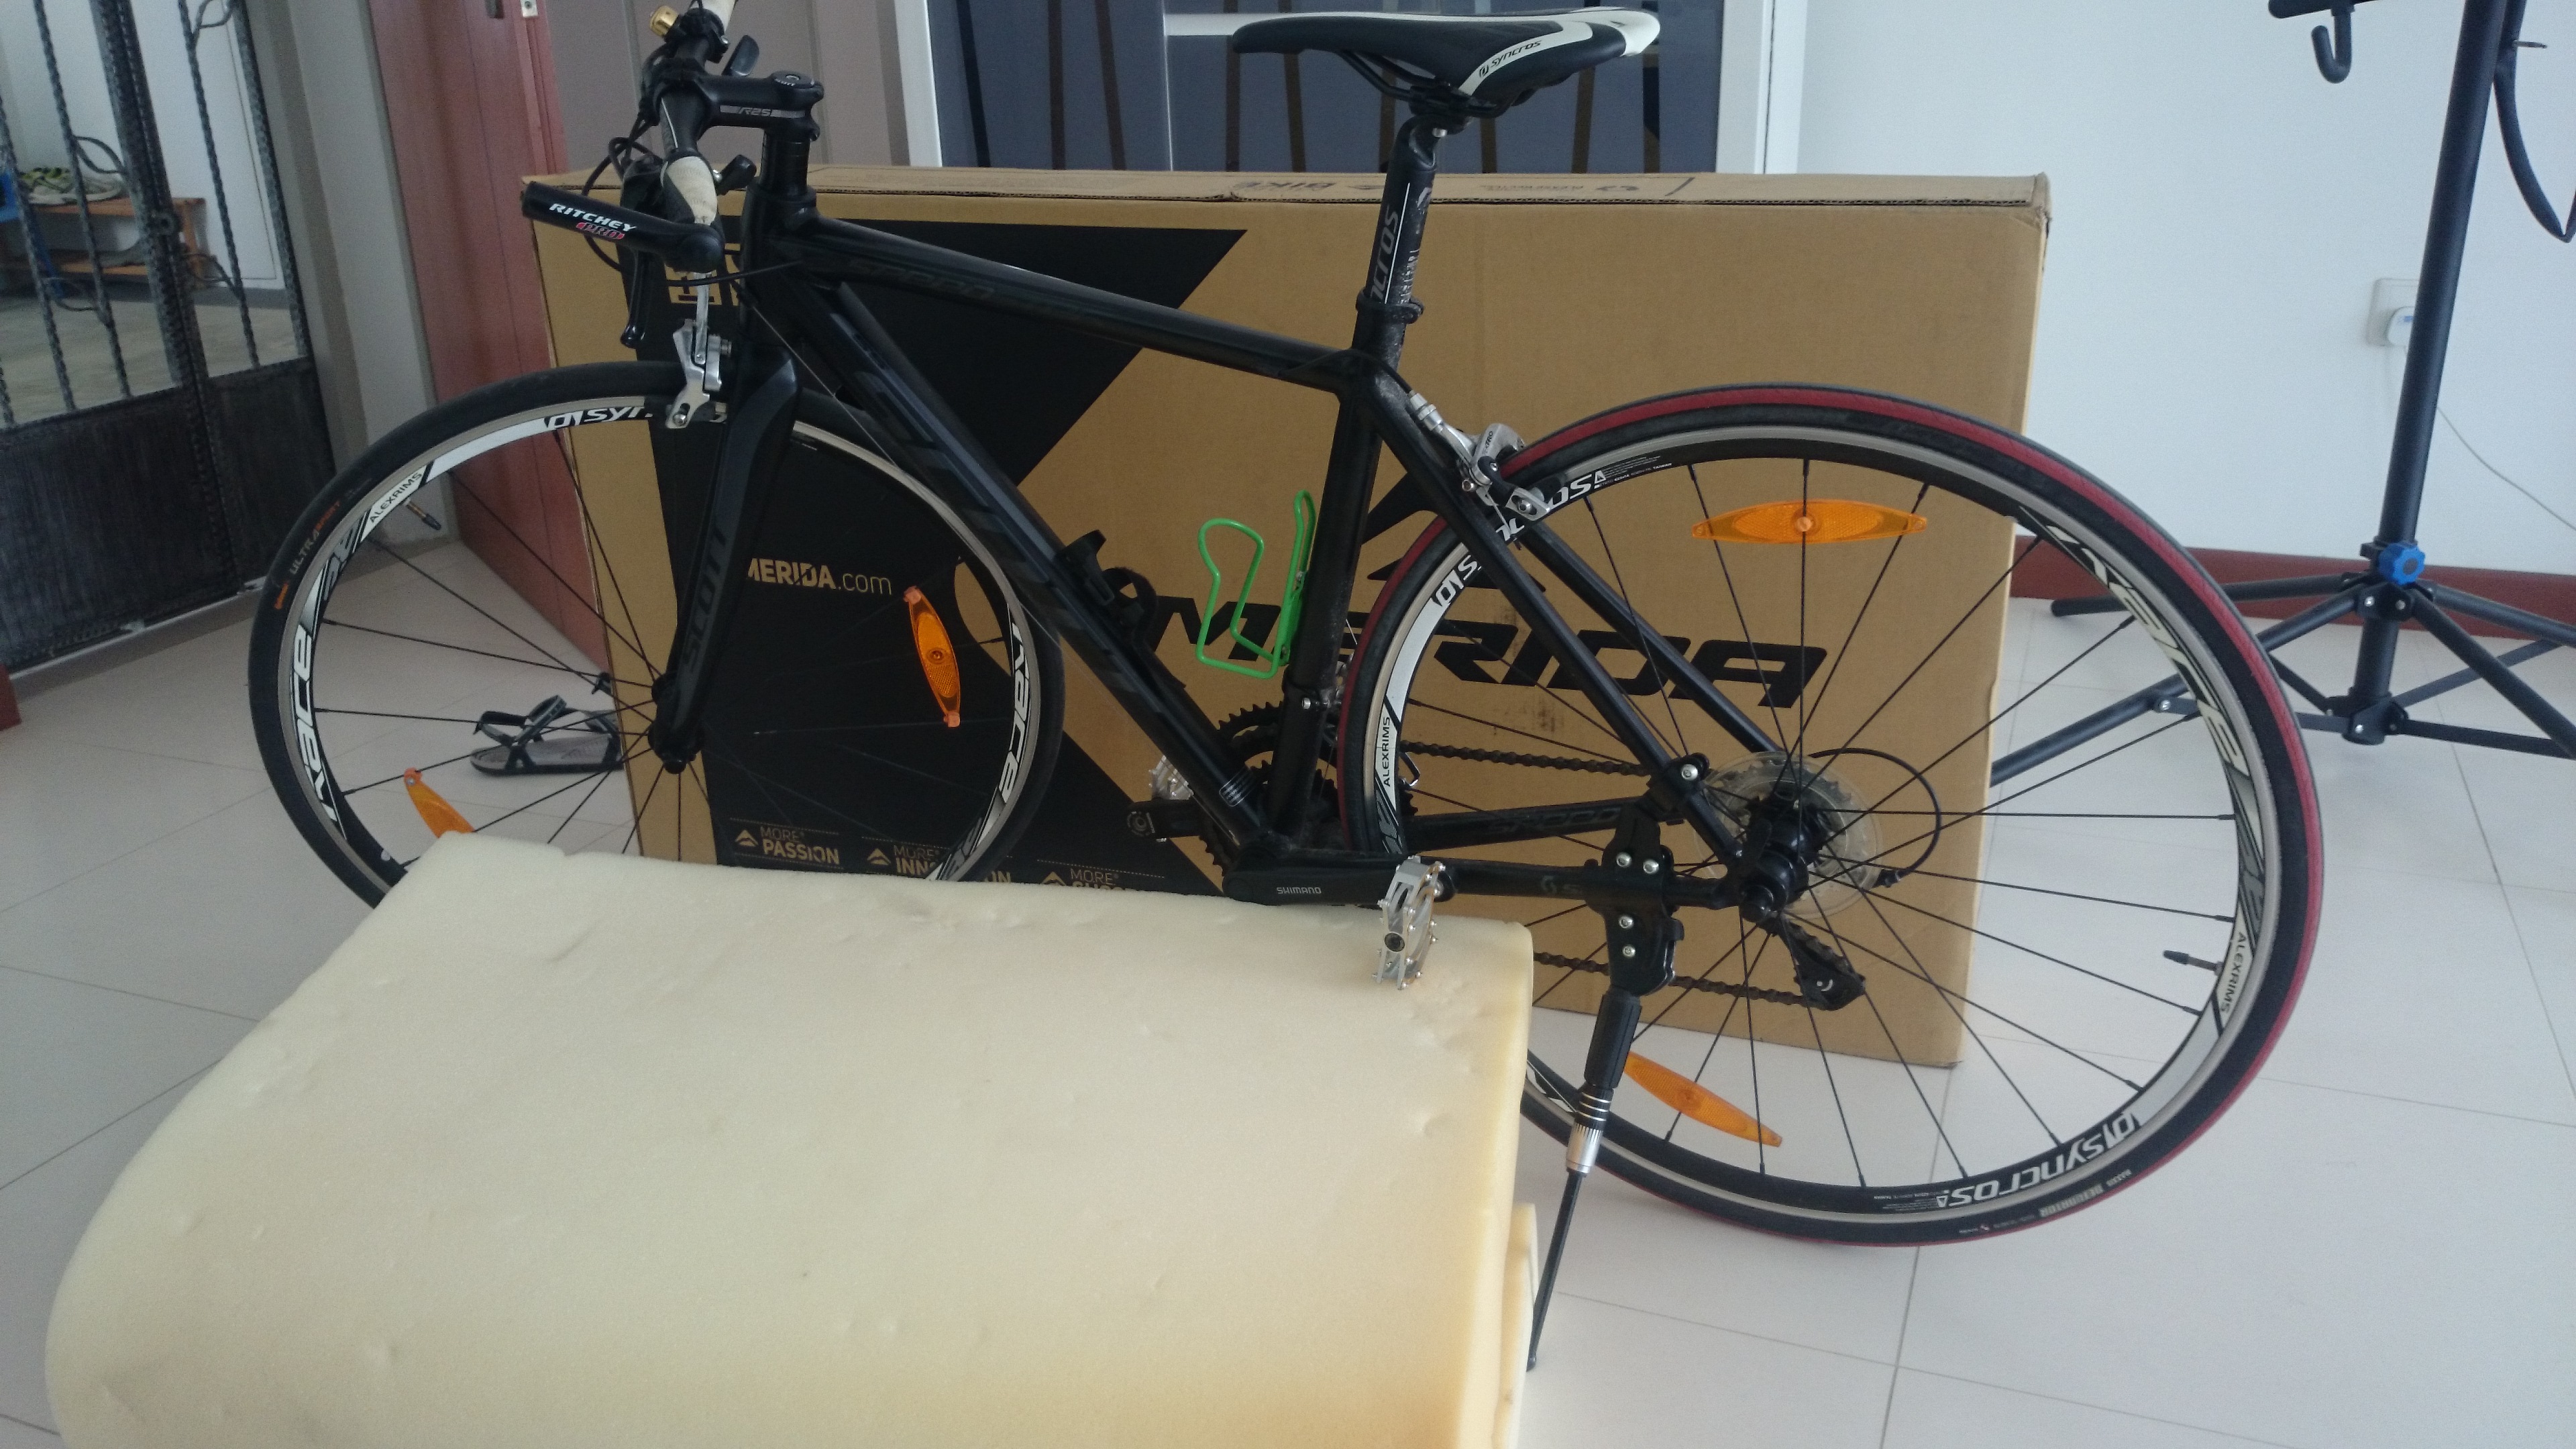

What I did:
- Cover the entire bottom of the box with clean tape. (In case the floor is wet.)
- Tape the seams and corners. (In case my box explodes.)
- Tape around the box just above where the handles are. (In case the handles give away.)
- Wrap the frame and fork with foam. I had to make little ‘hotdog buns’ with the foam and secure with electrical tape. I use electrical tape at this point because it’s easier to remove from the bike.
- Unscrew the pedals and wrap in bubble wrap. Set aside.
- Mark the angle of the handle bar before you remove it.
- Remove the handle bar ONLY. Don’t touch the headtube.
- Gently bring the handle bar (shifter and all) to the side and secure to the top tube with more foam and tape.
- Remove the wheels and deflate the tires. Wrap the quick-release levers in bubble wrap.
- Line the bottom of the box with cardboard or foam.
- Put the wheels and frame in and cushion any sharp parts with extra foam and cardboard so it doesn’t puncture the box.
- Put in any miscellaneous parts/helmet/bike pump etc.
- fill in extra space with foam/bubble wrap.
- Seal up with more packing tape.
And you’re ready to go!


Some helpful tips:
- You have to fiddle around with the positioning of the bike to get it to fit in the box properly but I personally found that putting in the rear wheel first, followed by the frame, then the front wheel proved to be the easiest.
- Cut open a plastic bottle or box and use it as shield around the derailleur. I used a clamshell box from some blueberries and taped around it.
- Pack in some extra tape and bubble wrap so that you won’t have to go looking for packing materials on the return trip.
- Don’t forget to pack your pedal lever or Allen keys.
- Write your name and address of your home/destination on the outside of the box – just in case.
- Double check with your airline for maximum oversized baggage dimensions and extra fees. For example, Singapore Airlines considers a bike a piece of check-in luggage and is free, whereas Air Canada charges a $50 bike fee and requires you to contact them and declare the bike.
Airport Experience – Update

I was super nervous at the airport when dropping my bike off. But checking in wasn’t as troublesome as I thought it would be. The girl behind the counter knew exactly what to do and in moments someone came to take my bike away. Good, I thought, at least it didn’t go on the conveyor belt with the rest of the bags.
The most interesting thing was all the attention I got from the other passengers. People kept looking at my box and I eavesdropped on people discussing the contents.
At my stopover, however, I was shocked to see my bike going around on the conveyor belt with all the other normal luggage after waiting patiently at the oversized baggage location. I actually gasped out loud and ran over, gingerly pulling my bike off of the belt. I inspected the box for damage. None, luckily.
Nervously, sent my bike off again after checking in my next flight. In Toronto, however, it actually arrived where it’s suppose to be: oversized baggage. And in one piece. Not to shabby at all. I might actually consider travelling more often with my bike.
Here are some articles and videos I referred to when packing my bike:
From a baggage handlers point of view: http://cyclingtips.com.au/2014/06/flying-with-your-bike-tips-from-a-baggage-handler/
Good airlines to fly with a bike: http://www.sacredrides.com/blog/10-best-airlines-to-fly-with-a-bike
More about the plastic bag method: http://travellingtwo.com/resources/flying-with-a-bicycle-in-a-plastic-ctc-bag
Packing a cardboard box: https://www.youtube.com/watch?v=7H2TZ3wvZKY
Perhaps I was lucky but my journey flying with my bike in tow was mostly smooth. Hopefully you’ve found this article and the links helpful.
Happy cycling!
– J
