My previous post was about choosing a pannier for my commute to work. But of course, without a rack on my bike, any pannier would as useless as a backpack with no shoulder straps. So I needed the rack my pannier could attach to. And here’s the scoop: it was wayyy more complicated than I was hoping it would be. That’s because there are no braze-ons (attachment points) to install a rack on my bike. Duh, I thought, why didn’t I think of that when I purchased my bike? I blame it on my need for speed (and my youth?) at the point of purchase. Wanting something fast, I had purchased a hybrid commuter bike in which its maker had no intentions of anyone lugging anything heavy with its frame. I was convinced I would be fated to enduring sweaty-back-and-lopsided-shoulder commutes until the day I saved enough money again to get a decent bike with braze-ons. I guess this is why many bike enthusiasts will have more than one bike. One for practical reasons, the other to really, really feel the wind go through your hair. I went to my local bike shop but all they had were these super flimsy ones and the guy told me I had to put shims everywhere. Pass.

Then, I randomly met an avid cyclist at a course who told me about his Old Man Mountain (OMM) bike rack. Instead of braze-ons, some of their racks can be installed via two attachment points on the bike: the brake bosses of v-brakes and the quick-release pin of the wheel. Brilliant. I want one. For many years OMM was the only company that had a rack that could adapt to bikes without braze-ons, I’ve found out. I believe recently more companies have developed similar racks. The problem is that my bike doesn’t have v-brakes. I have caliper brakes. But those guys over at Old Man Mountain are smart cookies. I can buy clamps that attach to the seat stays on both sides, about 1 inch below the rim of the wheel. That, in turn, attaches to rods that connect to the rack. All I needed to do was measure my seat stay. So I measured and decided on Old Man Mountain’s Sherpa rear rack.

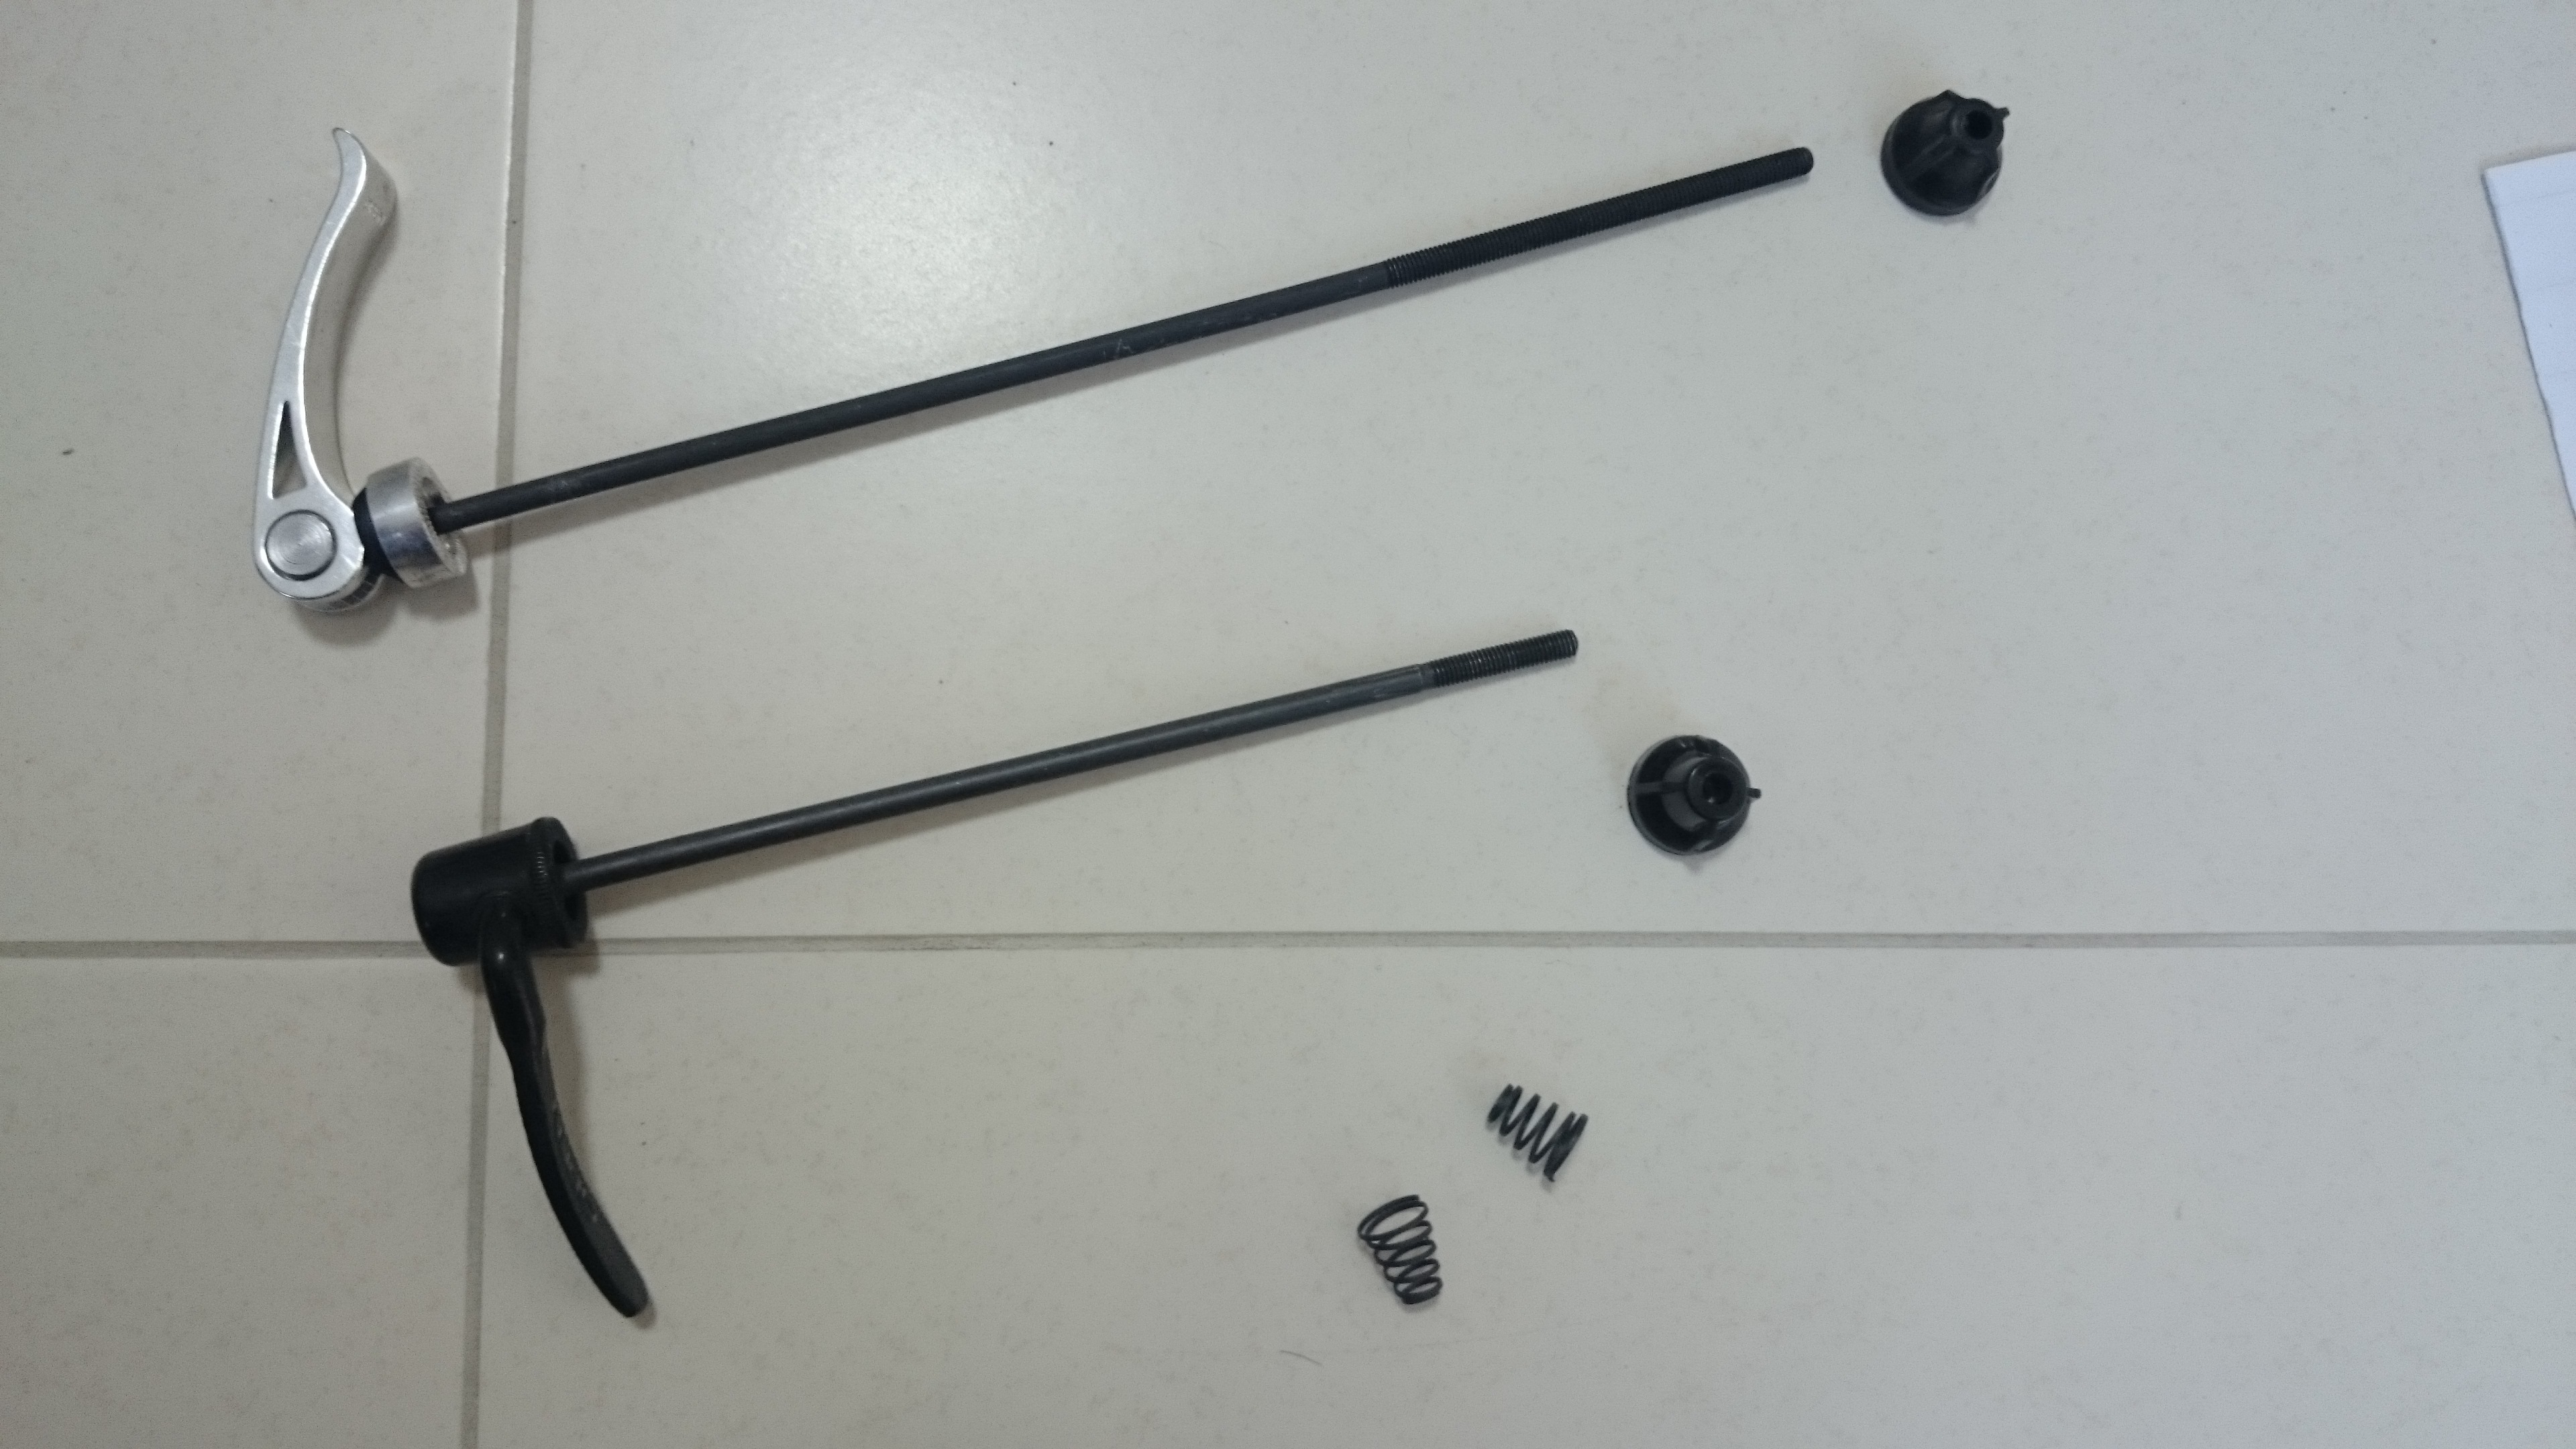
The rack comes with a long quick-release pin, two flat aluminum rods, a package of nuts/bolts/washers, instructions and the rack itself. I didn’t really look at the specs but it’s a little heavier than I anticipated. It weighs just under a kilogram so it’s not outrageously heavy but for some reason I had fantasized this featherlight apparatus capable of holding 40lbs. (Maybe I was dreaming about Tubus racks?) I don’t know about you, but sometimes when I really want to buy something, I don’t quite look at the details hard enough.

And speaking of not paying attention to details, I discovered that I had incorrectly measured the seat stays. Get this: I measured the circumference and not the diameter. Very important, everyone. Because then, they were way too big and I had this problem:


That’s right, the clamps were too big, which means the rack is going to be unstable. Luckily, my school has an amazing tech teacher who can just about fix anything. Basically, he helped me remeasure the clamps, cut off the excess metal and drill new holes into the ends. Lovely. The final installation was easy and the instructions were clear.

It’s a pretty sturdy piece of equipment. The only difference is that my bike is noticeably heavier and sometimes I hit the rack with my leg when I swing over to mount my bike. Just a matter of getting used to the rack I suppose and totally worth it even if just for the amount of sweat it saves. So there you have it, my bike rack tale. In case you saw my post because you’re researching bike racks, I found this post to be super helpful because the author lists many, many types of bike racks with a description of each one. Thanks for reading, and happy pedalling to all! -J

I am about to pick up my bike today. I had the same trouble when choosing it. It has no mounting points either. My other option was a much more expensive bike with an extremely disappointing colour scheme. I chose the first bike…. but was a little worried about the future. You’ve given me hope. Thanks.
LikeLike
I’m glad my post gave you some ideas. Hope your new bike is treating you well:)
LikeLike
I love it…. but there is too much snow on the ground to ride it. I will have to wait for spring.
LikeLike